
Postman
Use the Postman collection to test Asaas API endpoints with the correct authentication, environment, and troubleshooting.
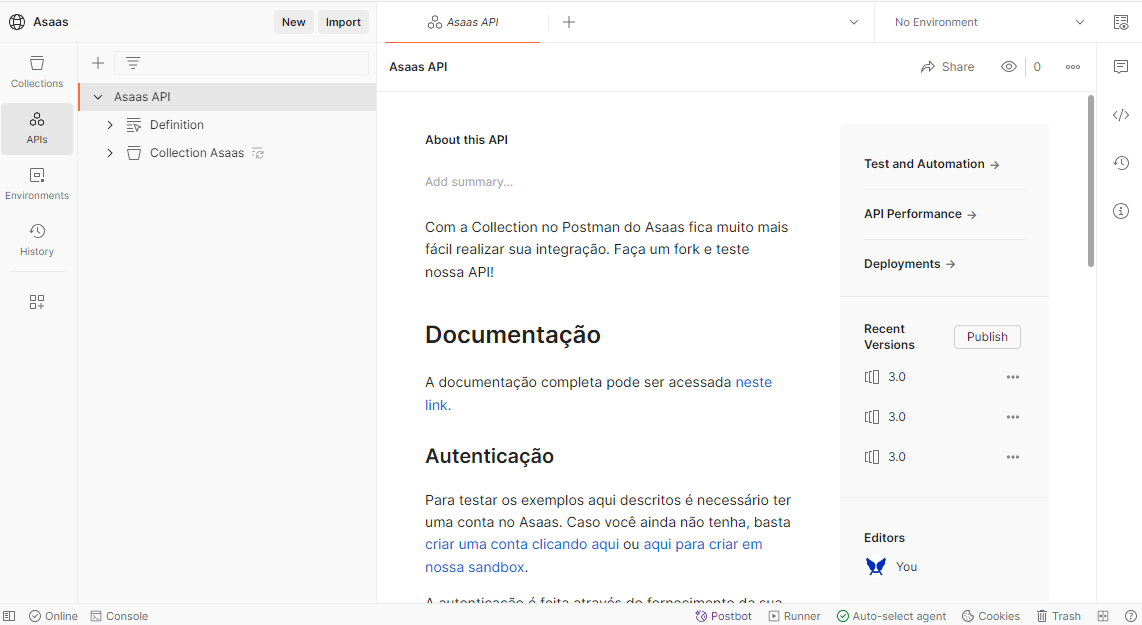
Test the API with Postman
Use the official Asaas collection to test the endpoints in Sandbox before implementing the requests in your application.
By the end of this guide, you will have copied the Asaas collection, configured your API key, and run a test request.
When to use it
Use the collection to:
- explore the API endpoints;
- validate authentication, headers, and URLs;
- test requests before writing code;
- reproduce errors during development;
- share requests with your team.
Before you start
You need to:
- Install Postman or access the web version.
- Create an account in the Asaas Sandbox.
- Generate an API key for the Sandbox.
- Check the authentication requirements.
Do not share your API key in public workspaces, images, repositories, or conversations.
1. Make a copy of the collection
- Access the official collection:
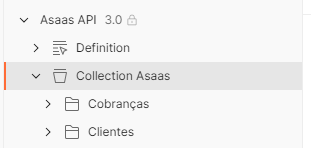
- In the side menu, expand Asaas API and select Collection Asaas.
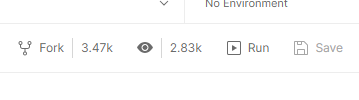
- Click Fork in the upper right corner and choose the Workspace where you want to save the collection.
2. Configure the environment
Use the URL that matches your API key's environment:
| Environment | Base URL |
|---|---|
| Sandbox | https://api-sandbox.asaas.com/v3 |
| Production | https://api.asaas.com/v3 |
Also configure the headers:
| Header | Value | Required |
|---|---|---|
access_token | Your API key | Yes |
User-Agent | Your application's name | Yes, for new root accounts created on or after 06/13/2024 |
Content-Type | application/json | Yes, for requests with a JSON body |
Sandbox and Production keys are different.
The URL and the API key must belong to the same environment.
If the collection uses variables, update the base URL and the API key before sending the first request.
If the values are set directly in the request, review the URL and headers individually.
3. Test a request
- Select an endpoint in Collection Asaas.
- Confirm the environment URL.
- Check the request headers.
- Fill in the parameters or the body, when necessary.
- Click Send.
- Check the HTTP status and the response body.
A successful operation should return a 2xx status. The specific code depends on the endpoint used.
How to confirm authentication
If the key belongs to another environment, the API may return:
{
  "errors": [
    {
      "code": "invalid_environment",
      "description": "The provided API key does not belong to this environment"
    }
  ]
}
If the access_token header is not sent:
{
  "errors": [
    {
      "code": "access_token_not_found",
      "description": "The 'access_token' authentication header is required and was not found in the request"
    }
  ]
}
Common errors
| Problem | Check |
|---|---|
401 Unauthorized | Whether the access_token was sent, is active, and belongs to the environment being used |
access_token_not_found | Whether the access_token header is configured in the collection or in the request |
invalid_environment | Whether the URL and the API key belong to the same environment |
| Application not identified | Whether the User-Agent header was sent with the application's name |
| Body rejected | Whether the JSON is valid and follows the fields described in the endpoint reference |
Next steps
- Learn about the Sandbox
- Check the API authentication
- Learn how to manage your API keys
- Go to the API reference
Updated 2 days ago