
API Keys
Create and manage your API keys
The API key identifies your account and authorizes the requests sent to the Asaas API.
By the end of this guide, you will know how to create, store, and manage your API keys securely.
Before you start
The API key:
- must be created through the Asaas web interface;
- cannot be generated through the app;
- can only be created by admin users;
- is exclusive to the environment in which it was generated.
Create an API key
Go to the Integrations area in the web interface to create your key.
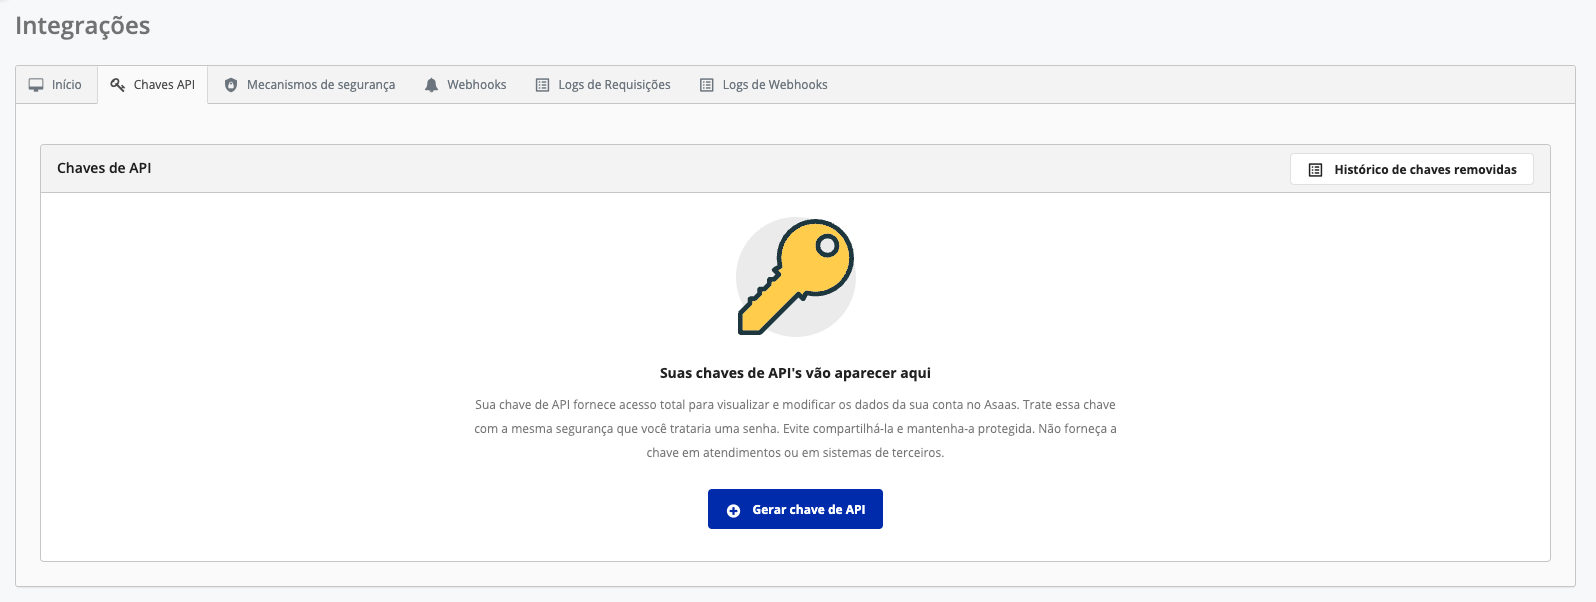
Store the key immediatelyThe API key is displayed only once and cannot be retrieved later.
Copy the value and store it in a secure location before leaving the page. If you lose the key, you will need to create a new one.
Manage your keys
An Asaas account can have up to 10 API keys.
For each key, you can:
- set a name for identification;
- configure an expiration date;
- temporarily disable or enable it;
- delete it when it is no longer used.
A deleted key cannot be restored.
Choose the environment
Use the URL that matches your key's environment:
| Environment | Base URL |
|---|---|
| Sandbox | https://api-sandbox.asaas.com/v3 |
| Production | https://api.asaas.com/v3 |
Sandbox and Production keys are different.
When switching environments, update the URL and the key used in the request.
During development, use the Sandbox with fictitious data. Switch to Production only after validating all of your integration's flows.
Store the key securely
Do not store the key:
- directly in the source code;
- in frontend applications;
- in public files;
- in logs;
- in messages, emails, or repositories;
- in unprotected shared workspaces or tools.
Prefer:
- environment variables;
- protected configuration files;
- secrets management services, such as AWS Secrets Manager, Google Cloud Secret Manager, or Azure Key Vault.
Always use HTTPS to transmit authentication information.
Do not send your API key to support, third parties, or through customer service channels.
Control access and rotate your keys
Grant access only to the people and systems that actually need to use the key.
We also recommend:
- monitoring the origin of requests;
- reviewing access periodically;
- defining a rotation policy;
- renewing keys used by many people during development;
- immediately replacing a key that may have been exposed.
The customer is responsible for the security and storage of the key.
Inactivity lifecycle
Keys that remain unused for long periods are automatically disabled or expired.
These rules apply to parent accounts and subaccounts.
| Inactivity period | Action |
|---|---|
| 3 months | The key is disabled |
| 4 months | Notice by email and Webhook |
| 5 months | New notice by email and Webhook |
| 5 months and 3 weeks | Final notice before expiration |
| 6 months | The key is permanently expired |
After 3 months
The key is disabled and no longer authenticates requests.
Calls made with it will return 401 Unauthorized.
You can enable it again under Integrations > API Keys.
Asaas sends:
- an email notice;
- the
ACCESS_TOKEN_DISABLEDevent.
After 6 months
The key is permanently expired and cannot be reactivated.
To keep using the integration, create a new key.
Asaas sends:
- an email notice;
- the
ACCESS_TOKEN_EXPIREDevent.
Upcoming expiration alerts
The ACCESS_TOKEN_EXPIRING_SOON event is sent:
- after 4 months of inactivity;
- after 5 months of inactivity;
- one week before expiration.
See the Webhook events for API keys to learn about the payloads.
Exception for BaaS operations
In BaaS operation subaccounts, the key is not disabled after 3 months.
However, it is still subject to permanent expiration after 6 months of inactivity.
For these accounts:
- email notices are not sent;
- only Webhook events are triggered;
- the parent account must monitor the
ACCESS_TOKEN_EXPIREDevent on its subaccounts.
Manage subaccount keys through the API
The parent account can create, list, update, and revoke API keys for its subaccounts.
This flow lets you replace expired keys without manually accessing each account.
See Subaccount API key management.
Add other layers of security
In addition to the API key, we recommend configuring at least one additional security mechanism.
IP whitelist
Lets you define the IP addresses authorized to use the key.
Requests originating from unregistered IPs are rejected with 403 Forbidden.
Transfer authorization via Webhook
Lets your application validate the transfers requested in the account.
If your system does not recognize a transfer as legitimate, it can be rejected.
Configure transfer validation via Webhook.
Next steps
Updated 2 days ago